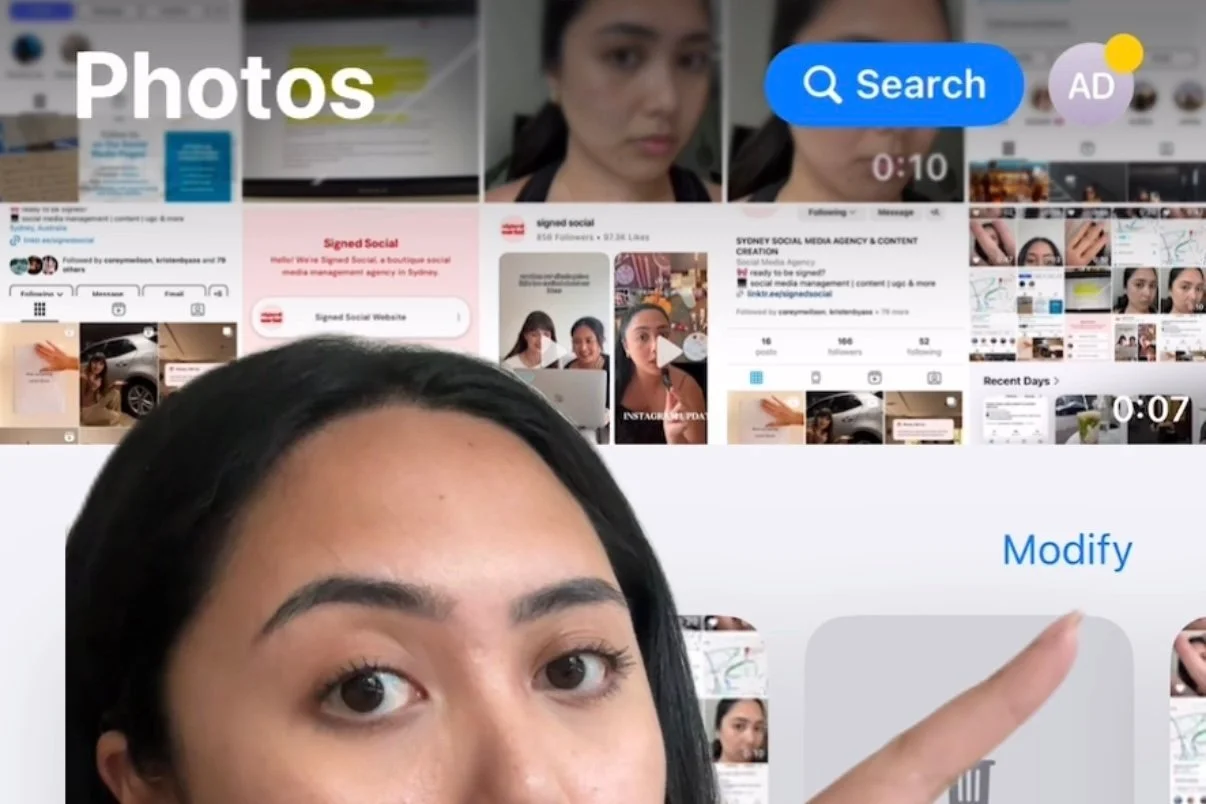
How to fix your camera roll with the new ios18 update
If you’ve updated to iOS18 and found your camera roll looking completely different, you’re not alone. Apple’s latest Photos app overhaul aims to simplify the layout but has left many users feeling lost.
You can check out our TikTok video, "How to fix your camera roll with the new iOS18 update," for a quick visual guide to getting things back on track! Or else, read on for a simple 3-step guide to restoring order to your camera roll and making it feel more like the setup you’re used to.
Fortunately, there’s a simple solution. Here’s an easy 3 step-by-step guide on how to restore some order to your camera roll and make it feel more like the setup you’re used to.
Step 1: Access "Customise & Reorder"
First, open the Photos app and scroll down to the “Customise & Reorder” option. This will allow you to start tweaking the layout to suit your needs.
Step 2: Select What You Want to See
In this menu, you can choose which sections to keep and which to remove. For a cleaner layout, we recommend unchecking everything except:
Utilities
Pinned Collections
and Albums.
For a more detailed view, you can also include "Pinned Collections" to make sure things like screenshots, videos and recently saved show up front and centre.
Step 3: Reorder to Your Preference
Now it’s time to decide the order of importance. We recommend the following setup for maximum efficiency:
Utilities – Quick access to key features like Recently Deleted and Hidden.
Pinned Collections – For quick access to screenshots and other saved items.
Albums – Keep your most important photo and video albums at the top.
(Optional) Customise Pinned Collections
As an additional tip, you can also reorder your Pinned Collections by clicking on "Modify". This allows you to highlight the most relevant collections for quick access.
That’s it! With just a few adjustments, you’ll notice a significant improvement in the organisation of your photos app. It’s a simple way to bring back some familiarity, making your camera roll easier to navigate and more aligned with your preferences. Make sure to check out our other blog posts for more tips and tricks.

